Payments - Deposit
- 20 Feb 2024
- 3 Minutes to read
- Print
Payments - Deposit
- Updated on 20 Feb 2024
- 3 Minutes to read
- Print
Article Summary
Share feedback
Thanks for sharing your feedback!
The Payments > Deposit screen lets users receipt payments in batch format and view past deposits.
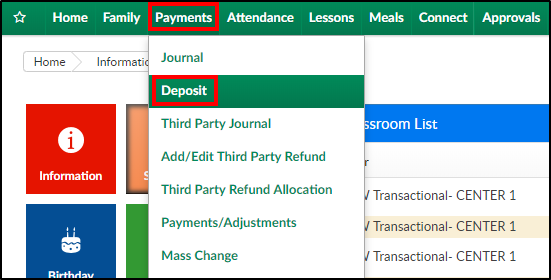
- Click Payments, then select Deposit
- On the Deposit screen, the payment types will display. Please Note: if additional payment types need to be setup, navigate to the Valid Values article for instructions

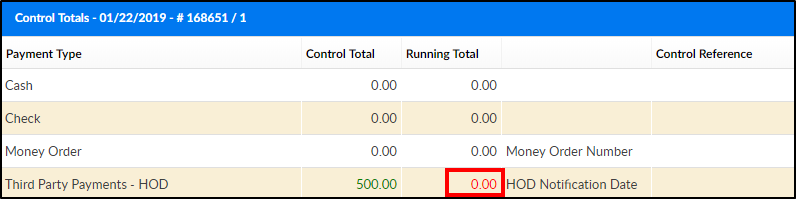
- Locate the Third Party Payments type and double click into the Control Total field. The control total should be the total amount for the payment type of the payments that will be receipted

- Enter the control total amount and press enter or tab. Please Note: the running total will now display 0.00 in red; this means no payments have been receipted towards the control total. As payments are entered, the running total will update. Once the control total is green, the batch can be posted. If the control total and running total do not match, the batch cannot be posted
- To add a payment, click +Add Payment

- Complete the Payment popup
- Payment Date - select the date of the payment from the calendar

- Payment Type - choose the payment type

- Agency - if payment is from a third party agency, select the agency from the drop-down menu

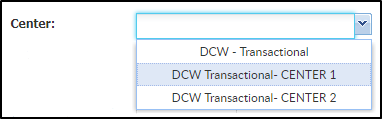
- Center - select the center from the drop-down menu
- Payer - the payer field will auto-fill based on what was selected in the Agency field. This field is read-only

- Payment Amount - enter the payment amount

- Authorization # - enter the check number or authorization number, if applicable

- Notes - enter any additional notes. Please Note: information entered in this field will display on the family's statement

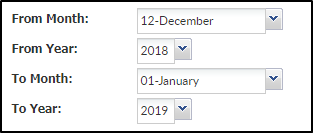
- From Month - select the starting month the payment will be applied to
- From Year - select the starting year the payment will be applied to
- To Month - select the ending month the payment will be applied to
- To Year - select the ending year the payment will be applied to
- Click Save. Please Note: once saved, a blank payment screen will open for the next payment to be receipted.
- All payments added into the system will display in the Payments section

- Modify icon - click the edit/modify icon to the left of the Payer name to edit the payment details
- Hourglass icon - this icon means the payment is pending
- Red X - click the X to delete the payment from the batch
- PDF icon - click the PDF icon to pull a receipt for the payment
- Once all payments have been added, the Running Total and Control Total should match and the Running Total will turn green

- Once the Control Total and Running Totals match, click Post Deposit to post the payments to family financial ledgers, or if the deposit was a Third Party payment, add the deposit to the Third Party Journal screen to be allocated out

- A confirmation popup will appear, click OK to continue
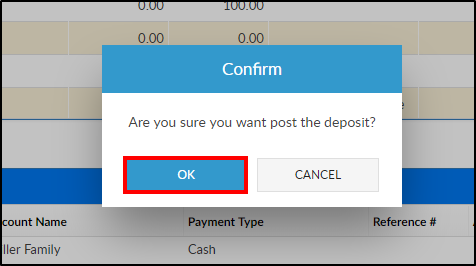
- Another popup will appear to confirm the deposit was posted. Click OK

- Once the page refreshes, deposits will display in the Deposits section

- PDF icon - pulls the Complete Deposit Report
- Deposit ID - this number is system assigned
- Deposit Date - the date the deposit was completed
- Deposited By - the username of the person who posted the deposit
- Center - the center/location the deposit was receipted to
- Status - the status of the deposit
- deposit is pending
- deposit is complete
- Post Date - the date the deposit was posted as of
- Total Deposit - the total amount of the payments
- Deposit Count - the number of payments that were receipted
- # Pending - the number of payments that have not been posted
- To pull an excel file of the deposit information, click Actions and select Export Weekly Deposit Summary

- The report will display

Searching for Previous Deposits
- On the Deposits screen, click Search Criteria
- Enter necessary search criteria
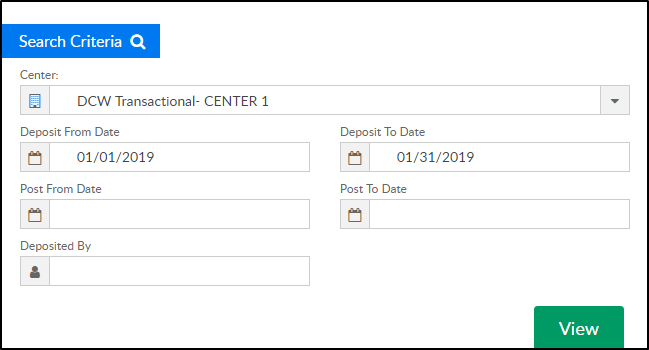
- Center - select the center
- Deposit From Date - beginning date to pull deposits
- Deposit To Date - end date to pull deposits
- Post From Date - beginning post date to pull deposits
- Post To Date - ending post date to pull deposits
- Deposited By - enter the username of the person who completed the deposit
- Click View
Actions Menu
There are three options in the Actions menu on the Deposit screen:

- View Deposits - this screen displays past deposits using specific search criteria
- Import Deposit Reconcile - an integration that can be setup to reconcile deposits
- Scan Check/CC - an integration that can be setup to allow for remote deposit of checks and scanning of credit card payments
Was this article helpful?